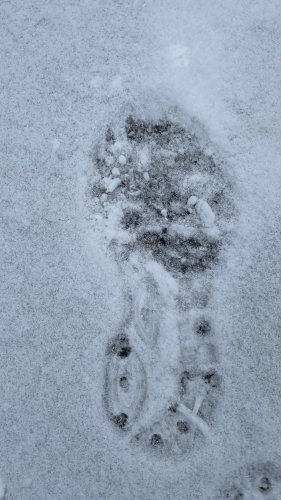
I fully admit to being a gear nerd; likewise, I fully admit to owning a lot of running shoes. It's important to have the right shoe for the right adventure, and with Maine winters offering harsh conditions, it's important that some of those shoes are specialized for the weather. It's also important to know that you can take your favorite shoes and stud them for traction on the roads and sidewalks.
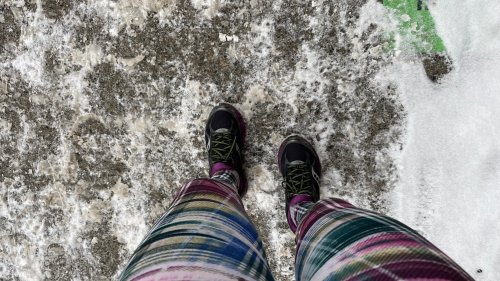
Here in western Maine, it's that icy season before we get a good enough snowpack to play in. Trail running is tricky because if you're not at elevation, there's not enough snow to justify microspikes or running snowshoes. I tend to take to the roads until the trails improve, but that has its own hazards--there's a consistent layer of slush or patchy ice that causes me to skid or slide on the pavement.
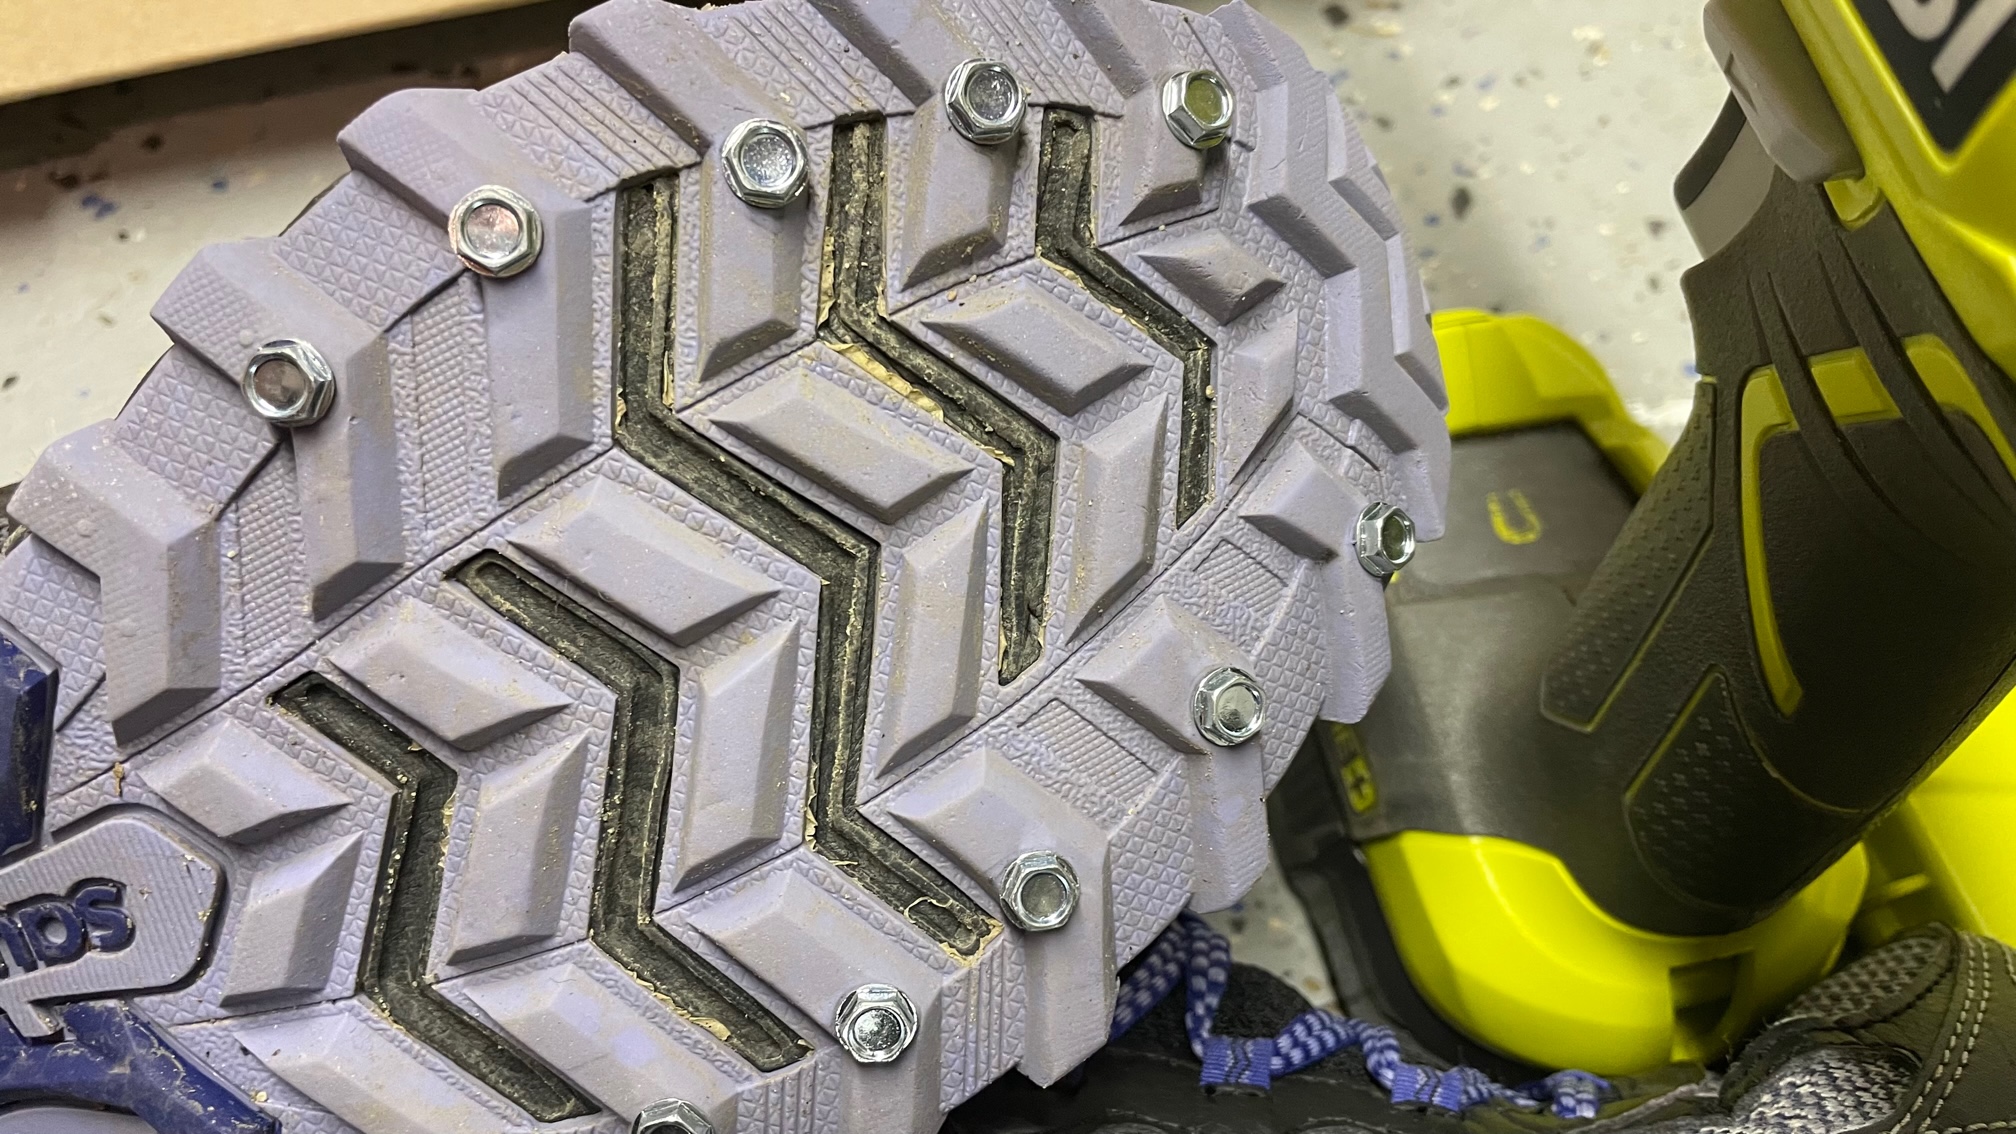
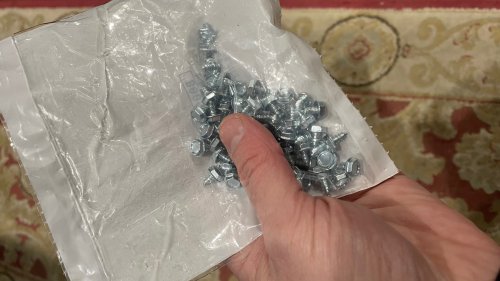
The solution is actually pretty quick, simple and cheap: screw shoes. I take 1/4" hex-head sheet metal screws and stud the bottom of a pair of road shoes with them. You can get a couple small packets of these screws at your local hardware store much less expensively than you can buy specialized ice traction kits at a running store. You only need a screwdriver to install the screws, but if you have an electric drill, just a small one, you can cut your project time in half.
First of all, choose the right pair of shoes to stud. The screws will steal some of the bounce from the suspension of your running shoe, so pick one that will still be comfortable when you're taking a little more impact. Most of my running partners pick a pair of shoes that they've been running on for most of the season and convert them to screw shoes to give them a little more purpose at the end of their life. Personally, my gear-nerd nature takes over when I make screw shoes. I order a pair of Gore-Tex winter runners (assuming that if I need the added traction, then I could also use the warmth and waterproofing) and convert them to screw shoes for the entire life of the shoe, which I usually measure in years. Just know that once you stud the shoes, you're not going to be motivated to take the screws out, so know that your choice to modify the shoe is permanent.
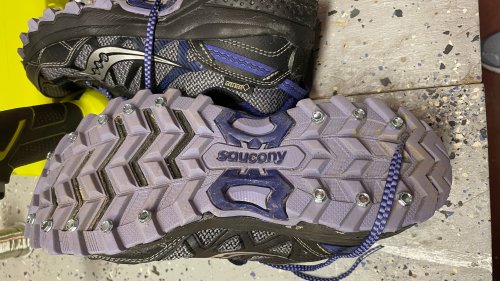
So when you get down to actually studding the shoe, be a little strategic about where you place the screws. You'll want to stud the lugs, not the grooves, so that your screws contact the surface you run on. However, not every lug needs a screw in it. You'll want a cluster on the ball of the foot and up towards the toe of the shoe: these screws will provide traction in the toe-off motion of your stride and on uphill pitches. You'll want another cluster of screws under the heel: these screws will provide traction for braking and steeper downhills. Depending on the lug pattern of my shoes, I've generally used 16-20 screws per shoe. If you have a funky stride and you need another cluster of screws to manage your traction, go for it. Just remember that more screws will increase the weight and counteract the suspension of the shoe you're modifying.
So just lace up your new (or up-cycled) screw shoes and hit the roads! There will be a new, satisfying clicking as your studs contact the icy pavement. These are not aggressive enough traction to keep you safe when the roads are fully glazed, and I prefer way more grip on trails, but the screws will easily handle the patchy ice, slush and thin snow cover you might encounter out there. Also, remember that traction aids change how your shoes feels underfoot. Consider taking shorter runs in them until you feel like your body adapts. This isn't a problem for most runners who tend to reduce their weekly mileage in winter anyway.


