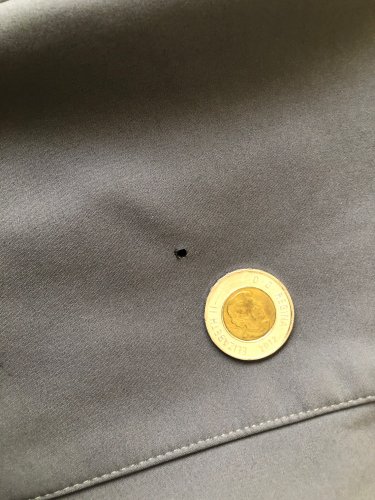
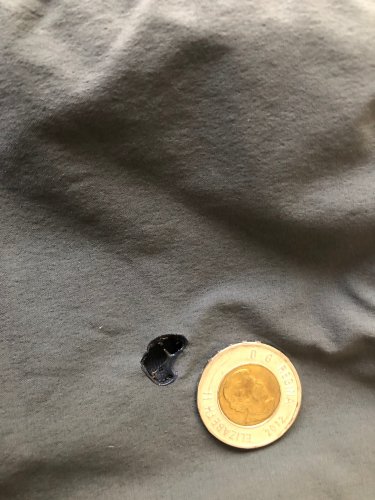
It's inevitable: you're going to damage a favorite piece of your running clothing. I've caught sleeves on branches, ripped through shorts from both long wear and poorly timed falls (are there any well-timed ones?), but the one that really broke my heart was when a spark from a campfire burned through my fleece-lined softshell pants. I'd searched for years for the perfect pair and had finally found them at a sporting goods store in Quebec City. I didn't want to start the search all over again, and besides, it's more environmentally responsible to repair what you have than to keep buying more. Fortunately, making this kind of basic repair is quick and easy.
Stitching a repair used to be my first, obvious solution. Sewing tears and gaps makes a strong, long-lasting repair and it's still my solution for stress points in garments or tension and load-bearing repairs on gear. But stitches do have some interesting drawbacks. They can pucker fabric and those puckers or the raised stitches themselves can catch and chafe against your other layer or your skin.
Fortunately, the DIY fabric tapes and repair patches have become lighter, stronger and smoother in recent years. Because the burn hole in my pants was a small spot on my thigh, a quick patch was the perfect answer.
First, wash your damaged item. The adhesives in patches are incredibly strong but they work best when your fabric is clean. If the tear is particularly gnarly, it may be worth your time to wash the garment by hand to avoid further damage in your washing machine. My only exception to this rule is if you need to make repairs in the field. Even then, before you patch up and continue on your way, brushing any dirt or debris off your fabric will make the patch job more durable.
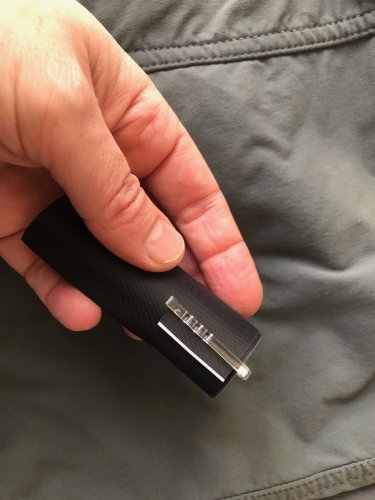
While your laundry dries, choose a patch for the job. Because my burn hole was small and in a slightly awkward spot on my upper thigh, I traced a dime on the paper backing of some black Tenacious Tape, just a couple shades darker than my slate grey pants. I like this product because it cuts easily without sticking to scissors or leaving residue on the blades, it packs easy for making repairs mid-adventure, and it's strong enough last through hard use and wash cycles. I removed the paper backing, stuck the patch over the hole, rubbed the patch flat from the center outwards, put my pants back on and went out tobogganing. It's that quick and easy to repair your gear. Had the hole been larger, I would have applied a second patch to the inside of the pants to reinforce the repair, but the small stuff can be fixed in a single step.
If you want to put more flair in your repair, check out the adorable line of self-adhesive patches from Noso. If I had torn my puffy jacket or my ultra vest, I'd be repairing it with an avocado-shaped patch, maybe a unicorn. Noso patches are just as easy to apply, hella cute, and need just minutes in the dryer to heat-activate the adhesive, which is the literal least additional effort you'd have to make. I really like their philosophy, that a repair can be an attractive feature, not a drawback.
Even if you decide that stitches are the best option for repairing gear, consider adding a self-adhesive patch on top. They can reinforce the repair, smooth over puckers and ripples and make the repair easier to waterproof if that's a consideration.
Adventure sometimes brings misadventure. If we're lucky, it's only our gear and clothes that pay the price. Rather than give up and throw them out, you can do a quick and easy (possibly even stylish!) repair and keep getting the miles out of your favorite stuff.


